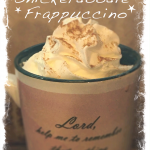
It’s the holiday season, and although Snickerdoodle cookies are great year round, this time of year is when they tend to be given more spotlight as with other holiday type flavors. In fact, every once in awhile I stop by my favorite coffee shop and grab a blended snickerdoodle, one of my favorite drinks! A few days ago my mom found a recipe for Chai Tea and it was delicious so I thought why not try my favorite blended coffee drink at home?! I’ve made plenty of homemade frappuccinos but never really thought to try the snickerdoodle.
I found a general snickerdoodle coffee recipe, but it was for hot coffee so I adjusted the recipe for my snickerdoodle frappucino and it turned out delicious! I even tried it sugar free/keto with Monk Fruit Sweetener and it still tasted yummy! Check out the recipe below, give it a try and let me know what you think!
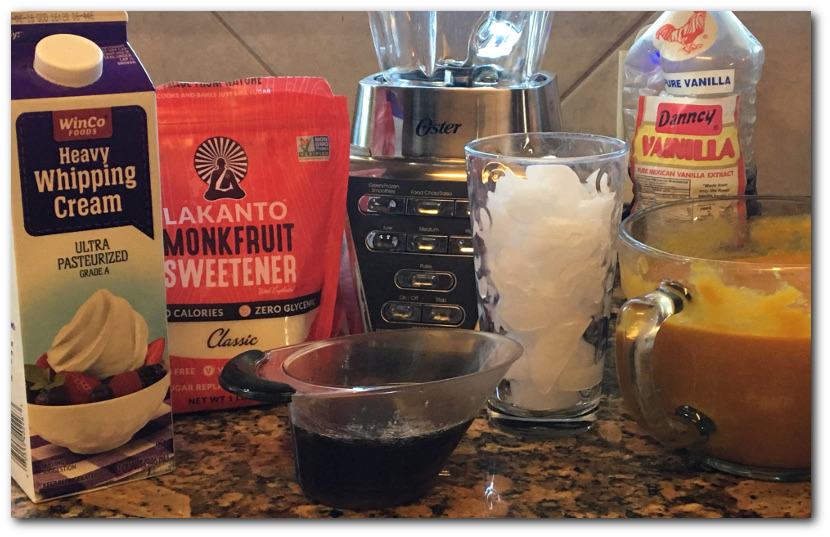
Snickerdoodle Frappuccino Ingredients

First gather your ingredients. You’ll most likely have these items, or most of them in your pantry.
- 1/2 cup cold coffee
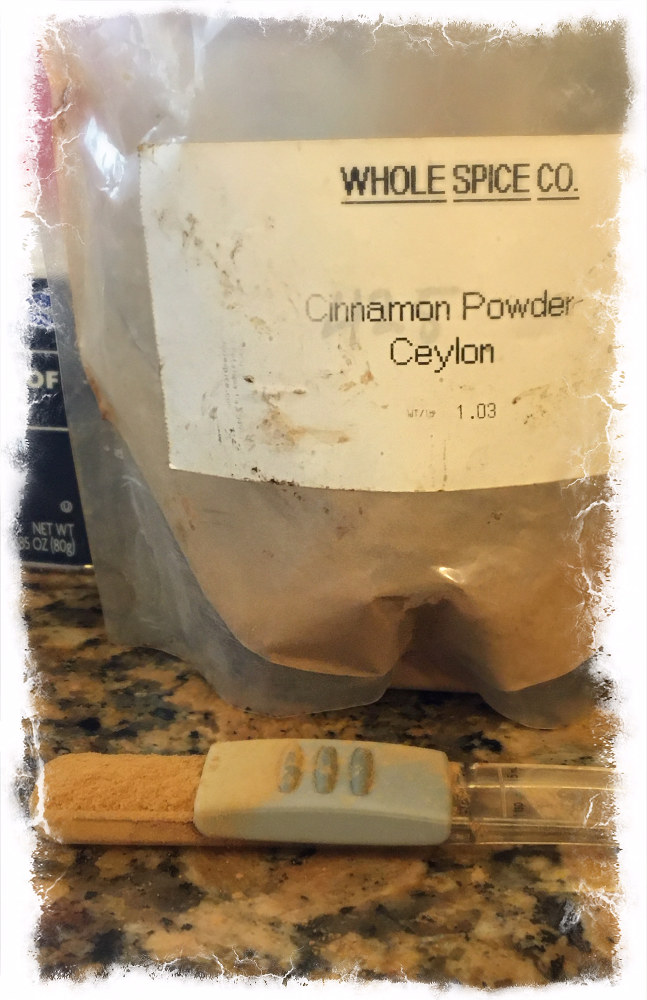
- 3/4 tsp Cinnamon powder. I like the bag of Ceylon cinnamon powder I ordered a few years ago on Amazon from Whole Spice Co. That one is not available now but here’s a link to another bulk 1lb bag. I love how long the bulk cinnamon lasts! Get a 1lb bag on Amazon .
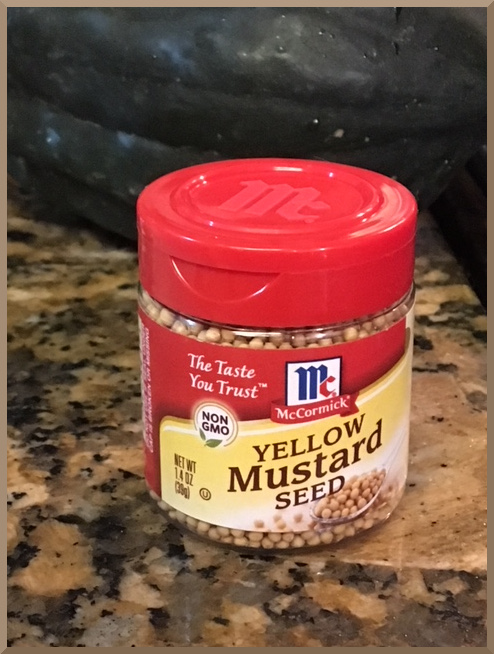
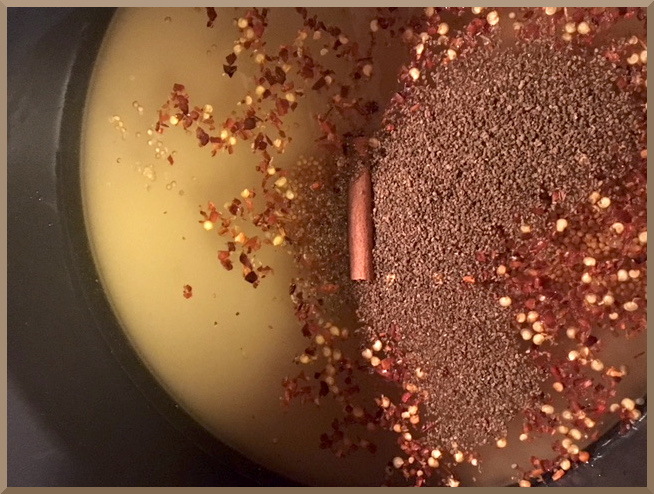
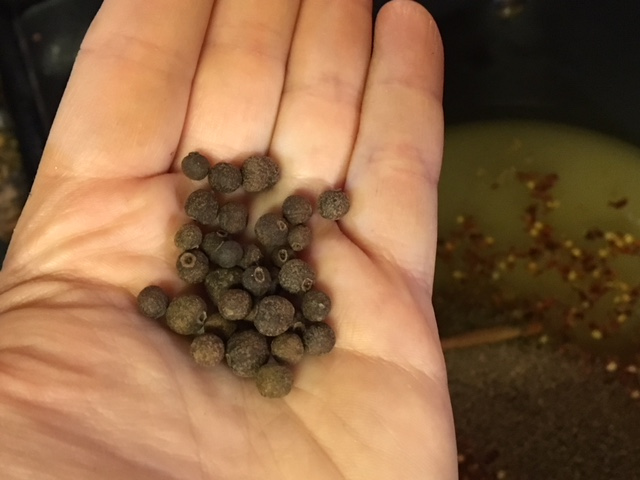
- 1/4 tsp Allspice
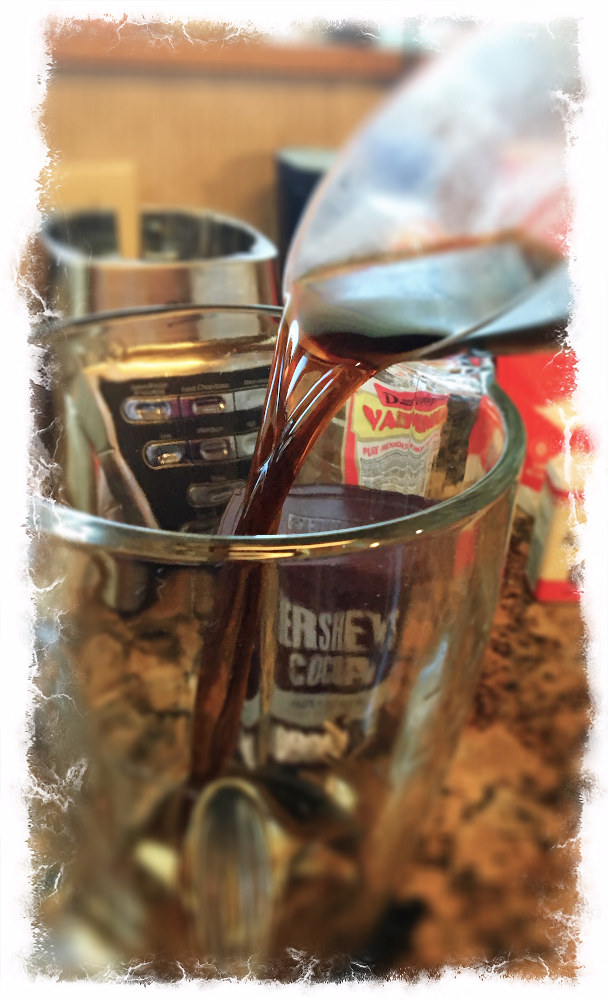
- 3/4 tsp Cocoa Powder. I use Hershey’s 100% Cocoa but I LOVE Ghirardelli baking cocoa, I just don’t normally find it at the store.
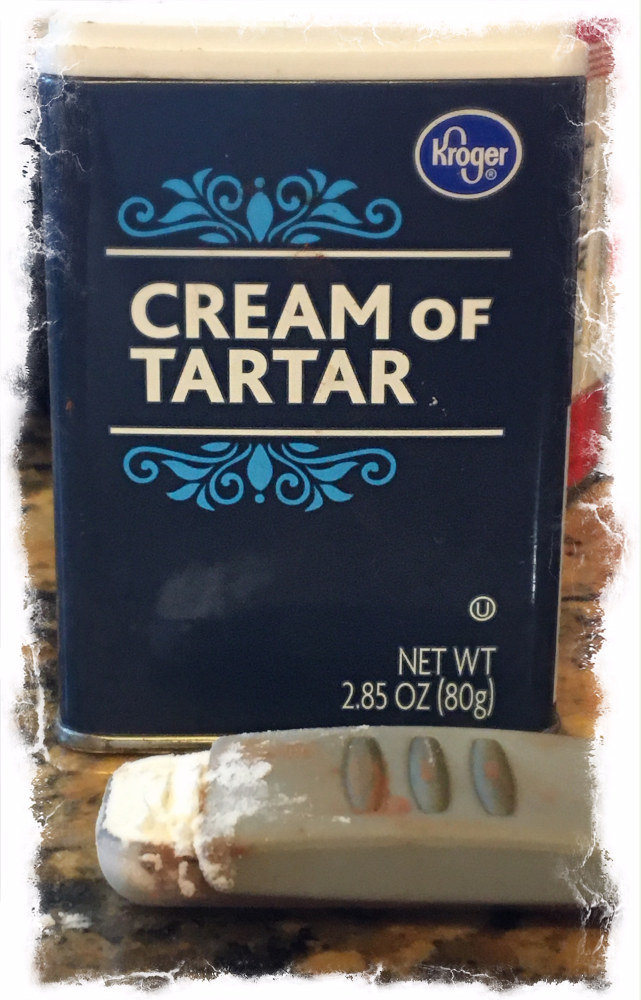
- 1/4 tsp Cream of Tartar
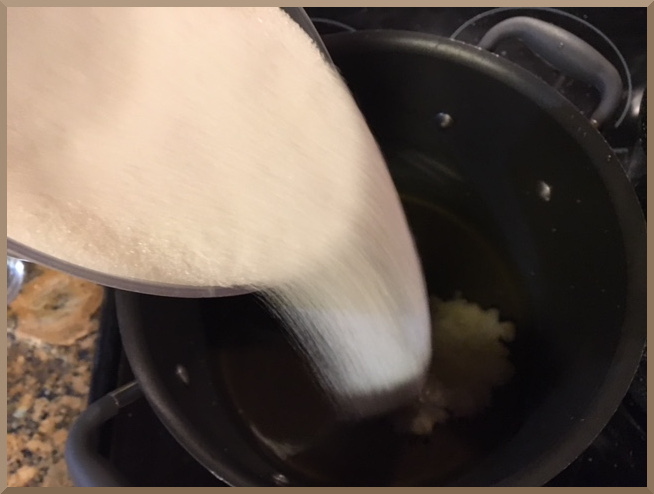
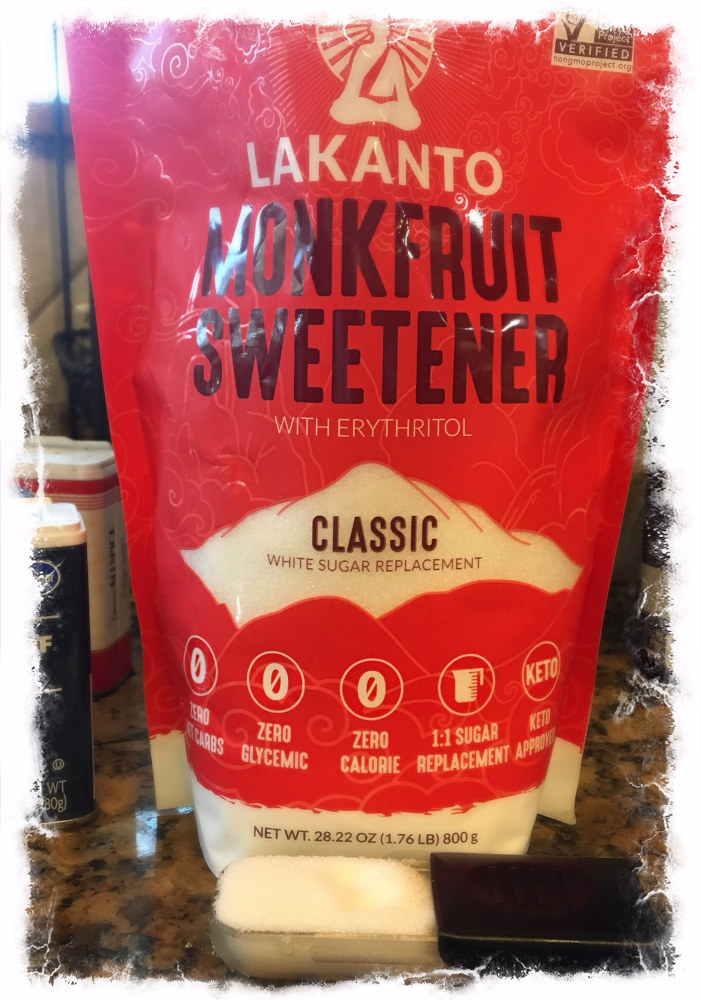
- 3 Tbls Sugar or your favorite sweetener. I love Monk Fruit Sweetener
- 1/4 tsp Vanilla flavor or extract. I use Danncy Vanilla from Mexico
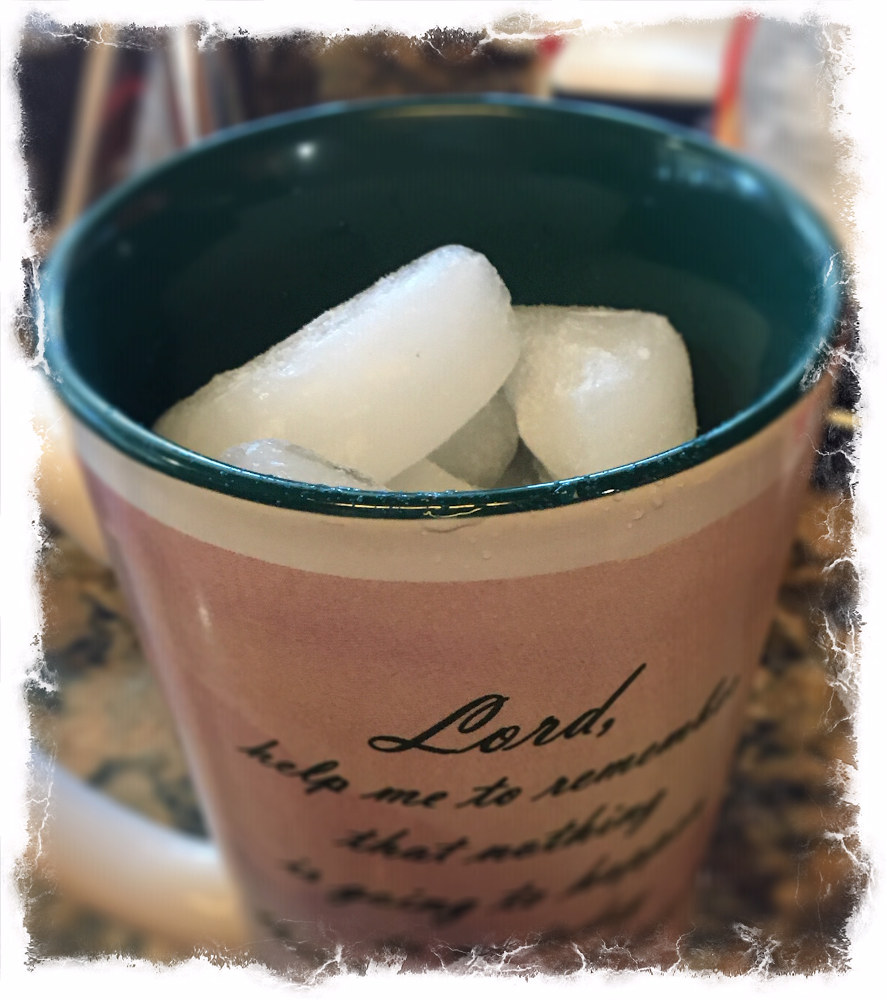
- 1 1/2 cups ice
- 1/2 cup Half and half or heavy whipping cream. (or regular milk, almond milk, coconut milk, etc…)
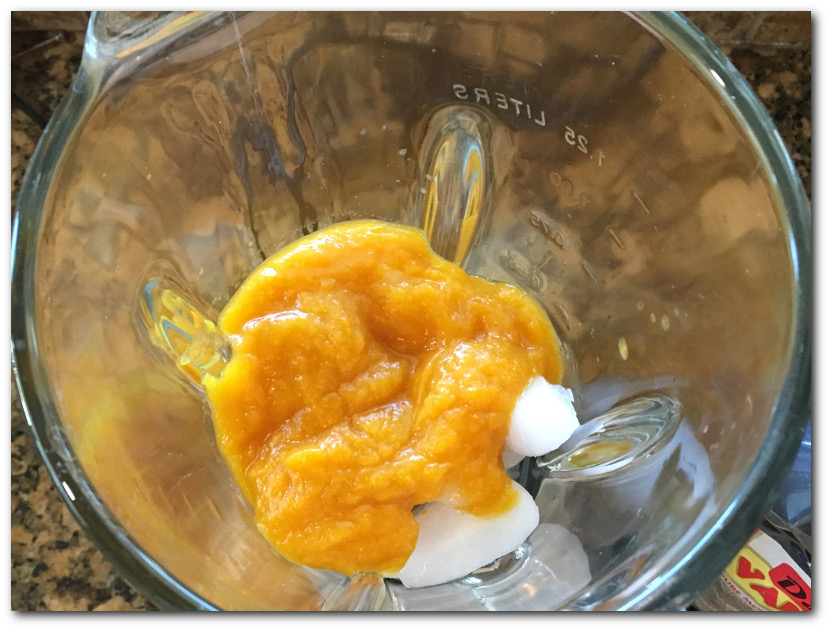
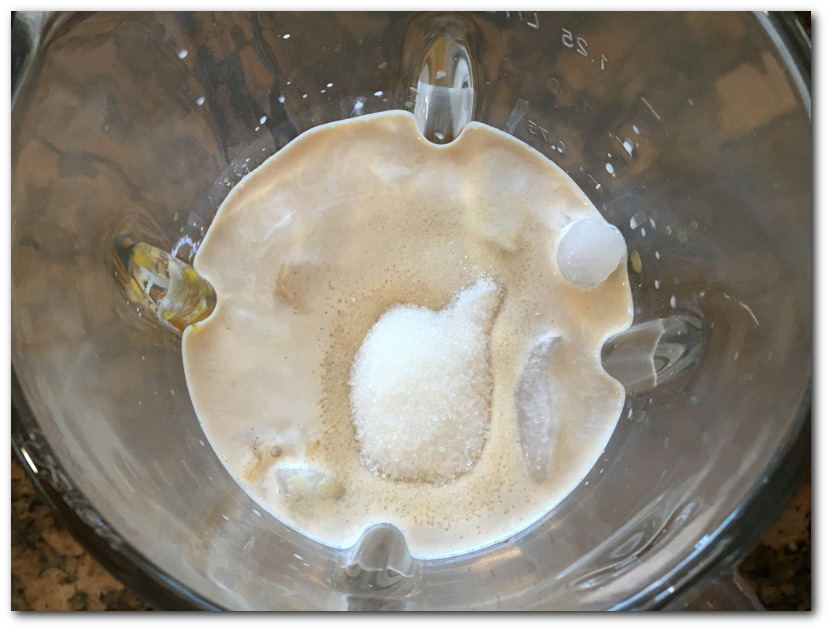
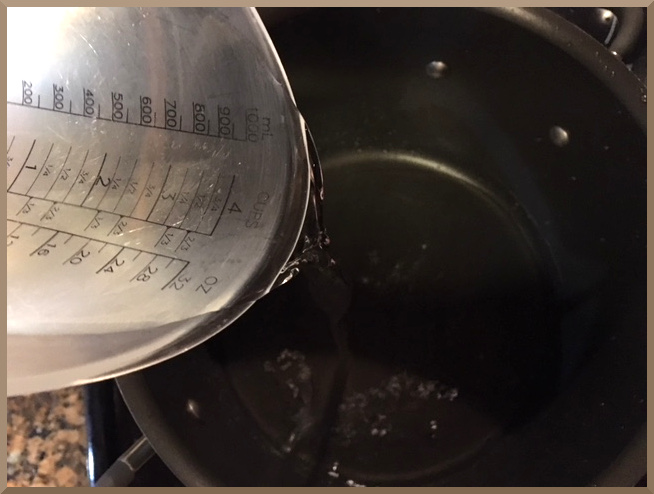
We’ll start by pouring the cooled coffee into the blender.
Next add the cinnamon….I love my 1lb bag of Ceylon cinnamon I bought on Amazon a few years ago. I’m just now getting to where I need to buy a new bag.
What’s the difference in Ceylon Cinnamon?
Here’s a short explanation from Livestrong.com. Cassia cinnamon is the normal type you buy at the store. Ceylon cinnamon is considered “true” cinnamon and appears to be healthier
“Ceylon cinnamon has a sweeter, more delicate flavor than cassia does, which may make it preferable for flavoring desserts and lighter dishes. But the more important distinction may be the presence of a chemical called coumarin, a natural plant chemical that acts as a blood thinner. This chemical is present in much higher concentrations in cassia than in Ceylon cinnamon. It is contraindicated for anyone taking prescription blood thinners. Coumarin has also been shown to be toxic to the liver and kidneys, and it may also be carcinogenic, which can negate any health benefits of cinnamon.”
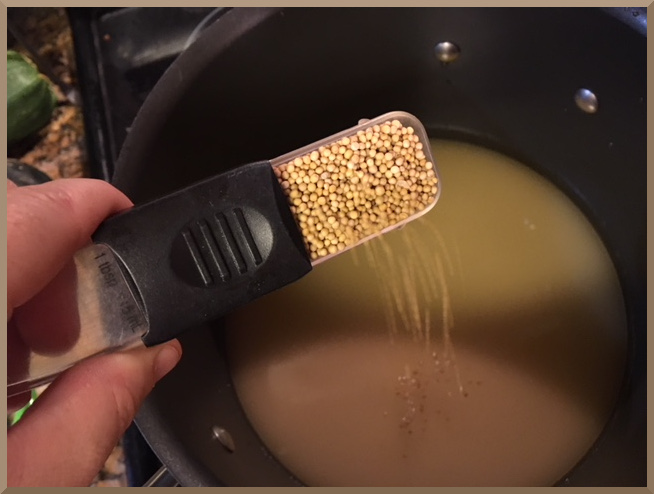
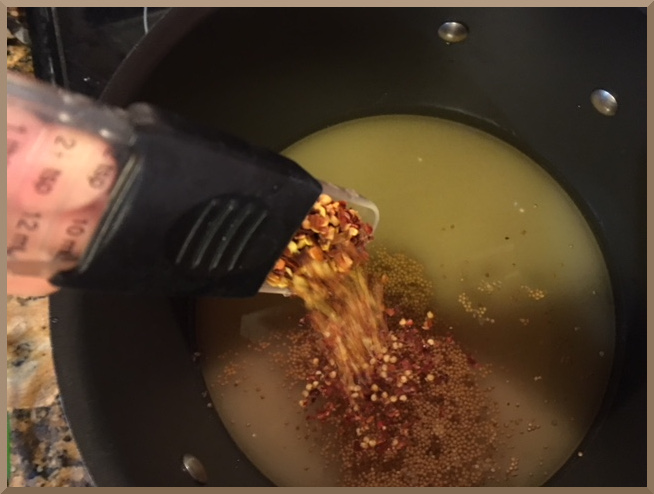
Now add the Allspice to the blender…

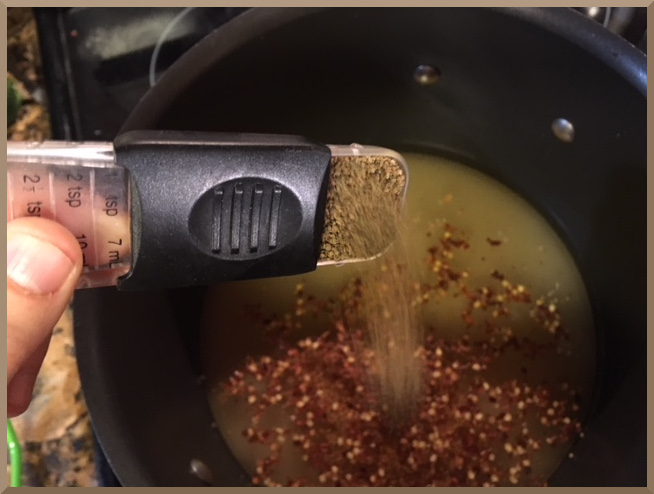
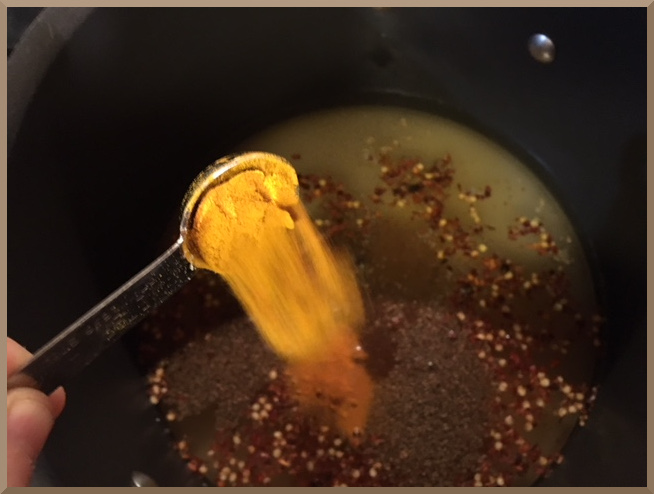
Then add the Cocoa powder. I use Hersheys 100% cocoa, but I LOVE the Ghirardelli baking cocoa

Next add a little cream of tartar. This may seem odd to add to a frappuccino or coffee drink but if you know anything about Snickerdoodle cookies, the cream of tartar actually helps give the snickerdoodle it’s unique flavor. This is why I decided to try adding it to my recipe.
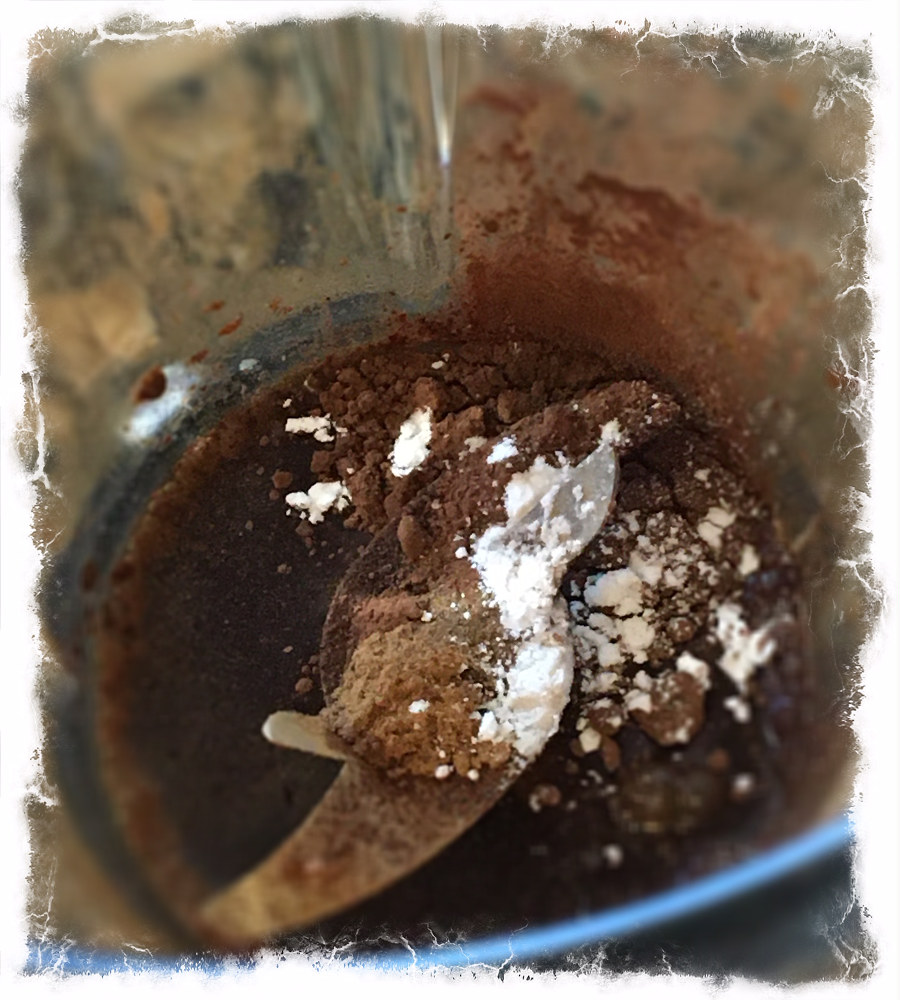
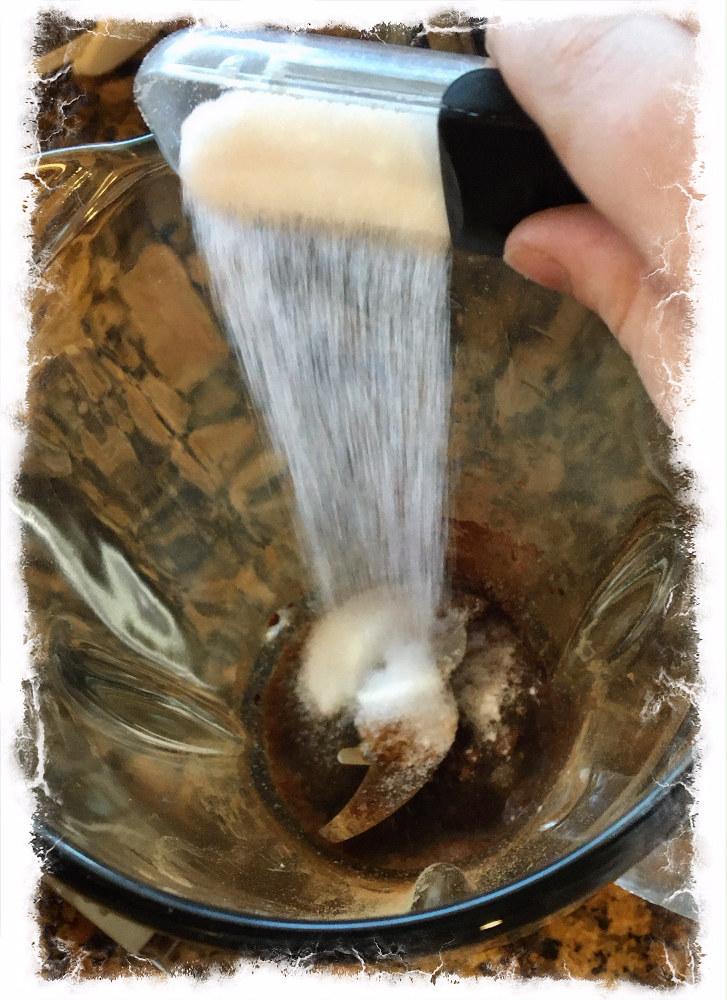
Now either sugar or sweetener whichever you choose. I’ve used both sugar and sweetener in this and it turned out excellent both times! Monk Fruit sweetener is currently my favorite.
Pour in 1/4 tsp vanilla flavor or vanilla extract. I love the Danncy Vanilla extract that my mom brought me from Mexico. It’s very affordable and tastes great!

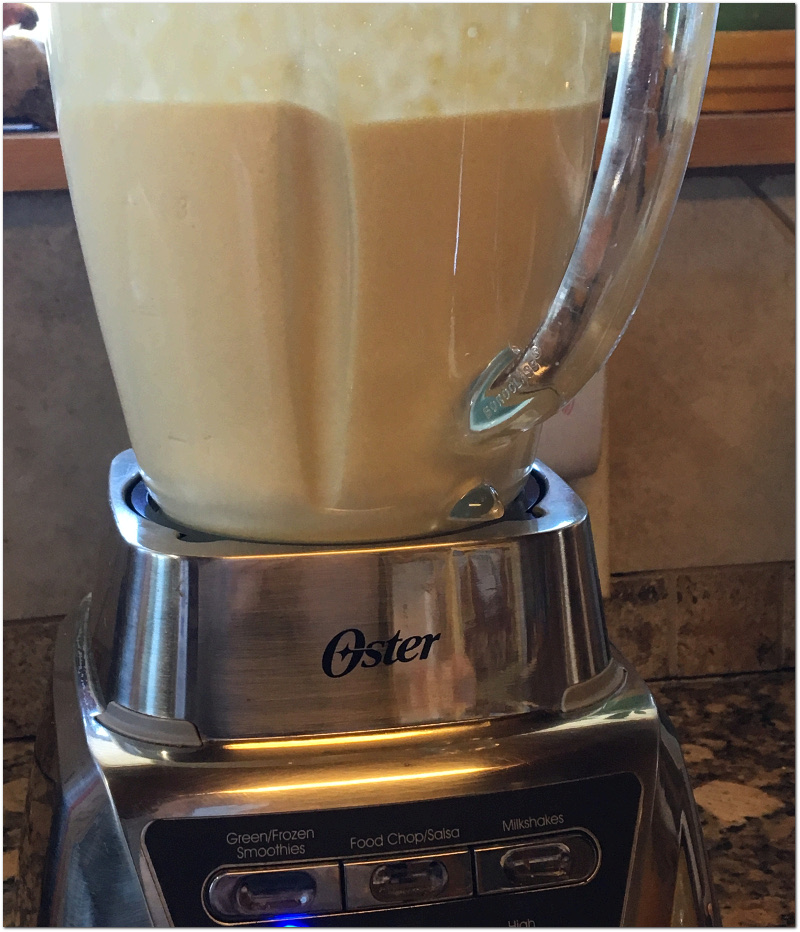
Now that you’ve got your coffee, spices and vanilla in the blender, it’s time for the last 2 ingredients! First I add the ice. I like to just fill up a 16oz cup nearly to the top and dump it in. It ends up being just the right amount. However if you want to use a measuring cup, it comes out to 1 1/2 cups of ice.

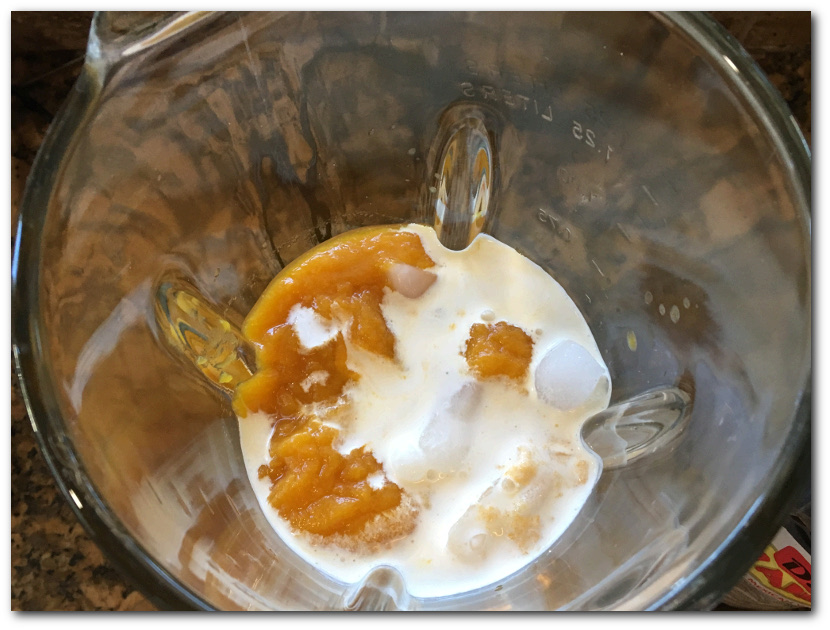
1/2 cup of heavy cream… I know, I know, it’s a LOT of calories.. 400 to be exact, but this is a once in awhile treat! You can also use Half and half which would taste just as delicious, and if you want to cut out a lot of the calories/fat then just use your favorite low fat milk or a milk substitute like Almond milk or coconut milk.
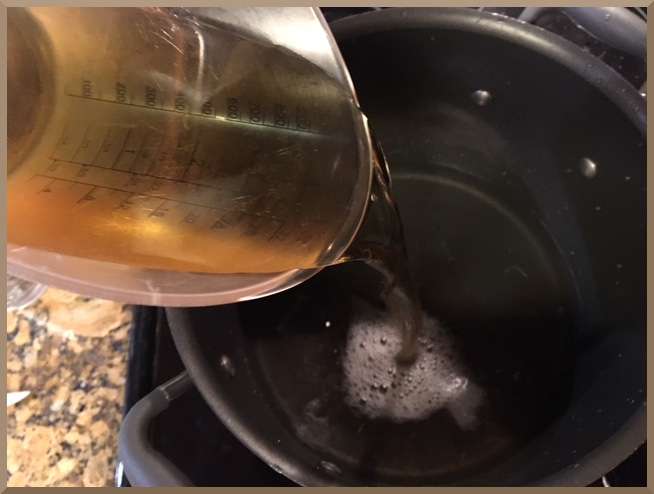
Pour the heaving whipping cream into the blender and you are ready to blend! Using heavy cream makes this so nice and creamy and low carb, as long as you use sweetener instead of sugar. You can also try using more coffee and less cream.


I love cream.. Isn’t it just so smooth and beautiful? lol
Ok, time to blend. I LOVE my Oster blender! Oster has always been my favorite because they blend so well, but are also on the affordable side. If you don’t have automatic settings on your blender, then blend on low the first 20 seconds and pulse for the last 10-15 seconds to make sure it blends really well. You don’t want ice chunks! I like my frappuccinos nice and smooth.
Want an excellent, affordable blender? Click here

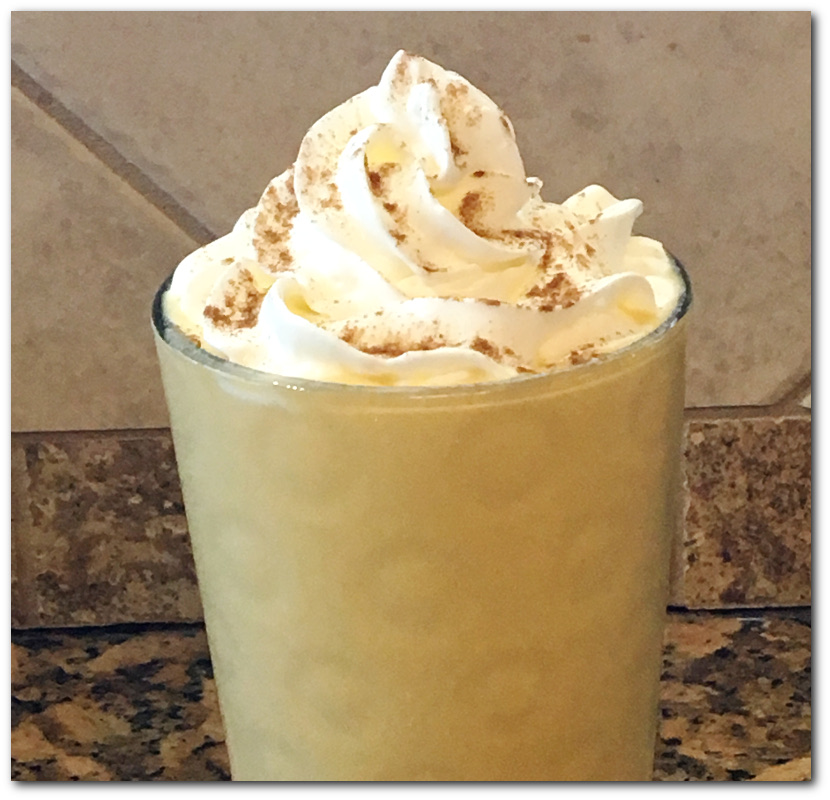
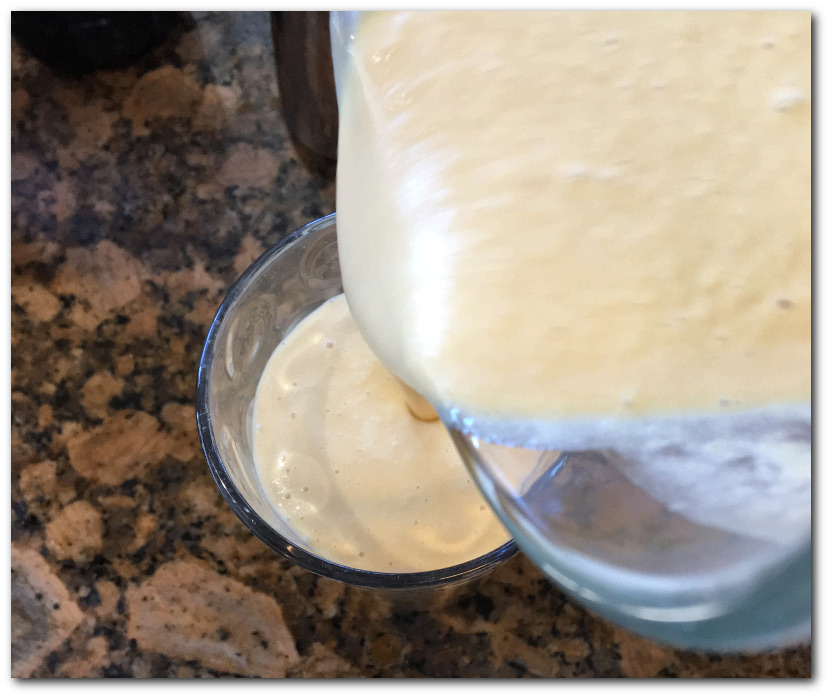
Now it’s time to pour into your cup and enjoy!! Top with whipped cream and cinnamon sprinkles to make it pretty and even more yummy 🙂
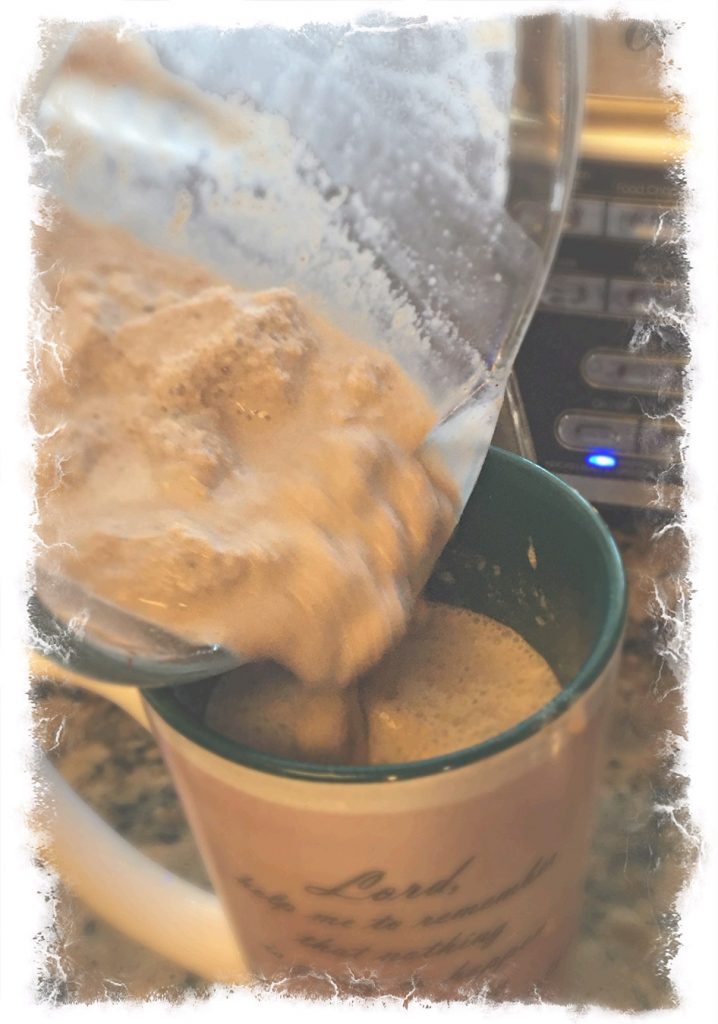

Yummmmmmy! The perfect holiday treat! Let me know what you think of this snickerdoodle frappuccino blended coffee in the comments.
Try this delicious Snickerdoodle blended coffee drink
- 1/2 cup Coffee Cold coffee is best
- 1/4 tsp Cream of Tartar
- 3/4 tsp Cinnamon powder
- 1/4 tsp Allspice
- 3/4 tsp Cocoa Powder
- 3 tbsp Sugar or Sweetener (I love Monk Fruit for a no calorie sweetener) For sugar free, use a similar amount of whatever sweetener you like!
- 1 1/2 cups Ice Fill a 16 ounce cup with ice to make it easy
- 1/2 cup Half and Half or Heavy Whipping Cream You can use regular milk or whatever you like. It would still taste greet low fat/low calorie too!
-
Brew your coffee and let it cool, or take out 1/2 cup and put in the refrigerator to cool.
-
Pour coffee, cocoa powder, cream of tartar, cinnamon, allspice, sugar/sweetener into the blender
-
Add ice and half and half or heavy whipping cream to blender and blend for 30-40 seconds. I like use my smoothie setting on my Oster blender. If you don't have an auto setting, you can blend on low for 20 seconds and then pulse on high for 15-20 seconds more or until smooth.
-
Pour into a 16oz cup and top with whipped cream and cinnamon powder sprinkled on top and enjoy your snickerdoodle frappuccino!
Calories in this recipe are calculated using half and half instead of heavy whipping cream and sugar instead of sweetener.
When using heavy whipping cream and white sugar the calories for this recipe will be 558 calories
When using half and half and a 0 calorie sweetener like Monk Fruit, the calories will be about 171 calories
If you are going high fat low carb or keto and you want to use heavy whipping cream and 0 calorie sweetener like Monk Fruit or Stevia, the calories will be about 413 calories